Model Building
A model kit turns a sprue of moulded parts into a fixed-scale replica of a vehicle, aircraft, ship or figure. The parts don't change from box to box; the result depends entirely on assembly and finish.
Scale, and what it actually means
A kit's scale states the ratio between the model and the real subject. Aircraft and vehicle kits commonly appear at 1:144, 1:72, 1:48, 1:35 and 1:24; ship kits run larger denominators, typically 1:350 or 1:700, since full-size ships are far larger than aircraft. Bandai's Gunpla line — plastic kits of the Gundam robot designs — mostly builds at 1:144 and 1:100. Scale sets the model's shelf footprint and, generally, its part count: a 1:24 car kit usually has more separate parts representing engine and interior detail than the same subject at 1:72, where that detail is either simplified or omitted.
Kit types
- Snap-fit
- No cement required; parts are moulded in coloured plastic and click together. Bandai's Gunpla line is built almost entirely around this format.
- Cement-assembly
- Parts join with plastic cement and are usually painted afterward; the standard format from Tamiya, Airfix and Revell.
- Resin and photo-etch
- Higher-detail materials used for aftermarket parts or full kits, generally aimed at builders past their first several completed models.
Tools that matter
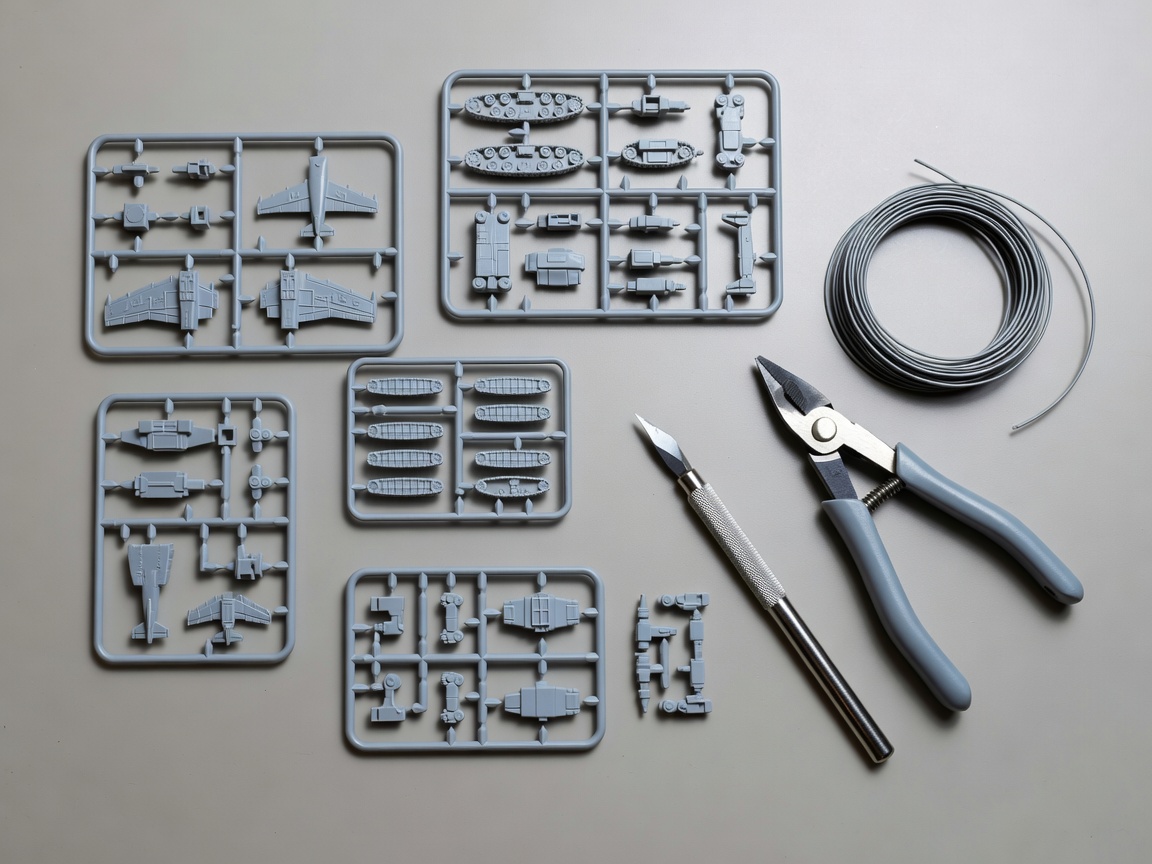
Sprue cutters remove parts more cleanly than scissors or a knife, leaving a smaller stub to clean up and less stress on the part itself, which matters on small or thin components that snap under bending force. A hobby knife handles the stub left behind and cleans mould lines — the faint ridge left where two halves of an injection mould met. Painting splits three ways: brush painting is cheapest and needs no equipment beyond a brush and thinner; rattle-can spray paint covers large flat areas evenly but is hard to control on small parts; an airbrush gives the most control and the finest finish but adds cost and needs ventilation. Decals also split into two systems — waterslide decals that need soaking and sliding into place, and pre-cut, self-adhesive sheets that some newer kits include instead.
Choosing a first kit
Snap-fit before cement-assembly removes glue handling from the first attempt entirely. A smaller scale — 1:72 or 1:144 rather than 1:24 — means fewer parts, lower cost, and a shorter build, while still producing something detailed enough to be worth finishing. Subject matters more than scale for actually finishing a kit: a builder is far more likely to complete something they'd genuinely want displayed than a kit chosen only because it looked easy.
Getting started
Read the full instruction sheet before touching plastic — kits sequence assembly for a reason, and painting a sub-assembly after final assembly usually means masking around parts that should have been painted separately first. Dry-fit every part before cement touches it; a part that doesn't sit right dry won't sit right glued. Build and paint sub-assemblies — a cockpit, an engine bay — before joining the main body, since access disappears once the shell closes. A kit abandoned halfway sits on more shelves than one ever finished, and starting smaller is the most reliable way to avoid that outcome.